

Making plaster houses for table top gaming
or LVO I needed to make a bunch of houses, and will again for next year. Not everyone needs 100 houses, but these same steps can be used to make a dozen or so just as efficiently. Also, skipping the re-casting steps you could make 1-2 with not too much trouble.
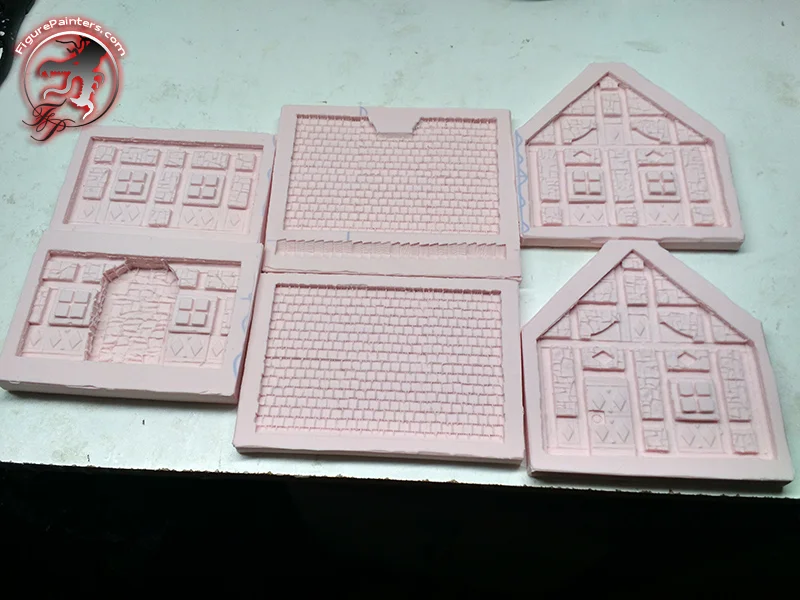
I used Hirst Arts molds to make all the initial parts. It is very similar to this tutorial on their page http://www.hirstarts.com/tips34/tips34.html
Each piece will need a little sanding on the back and clean up around the edges


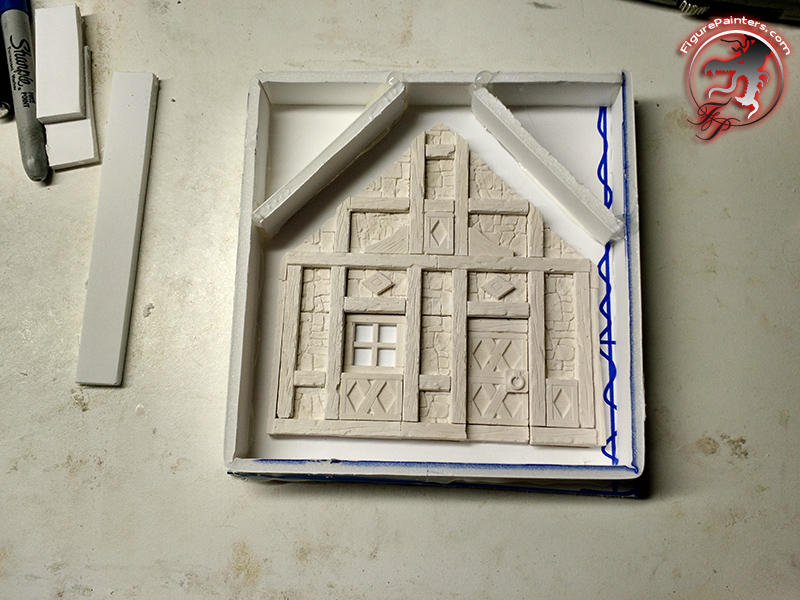
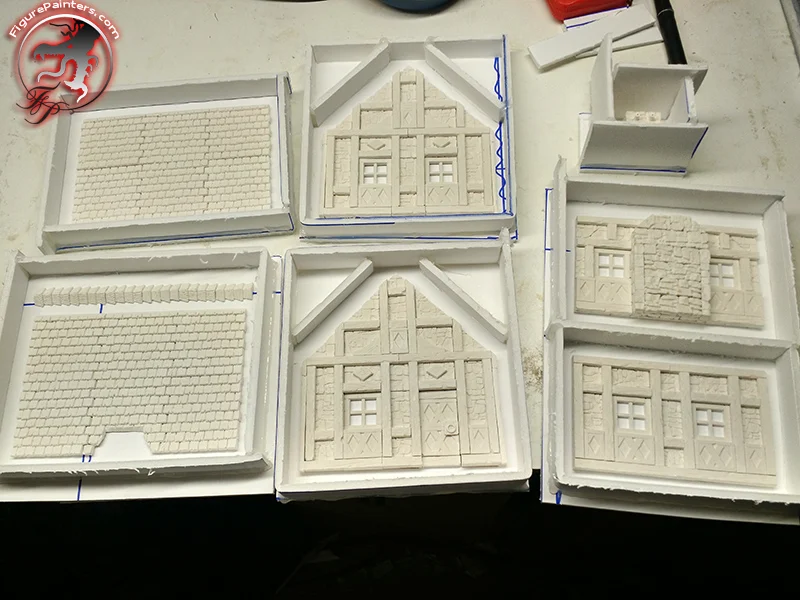
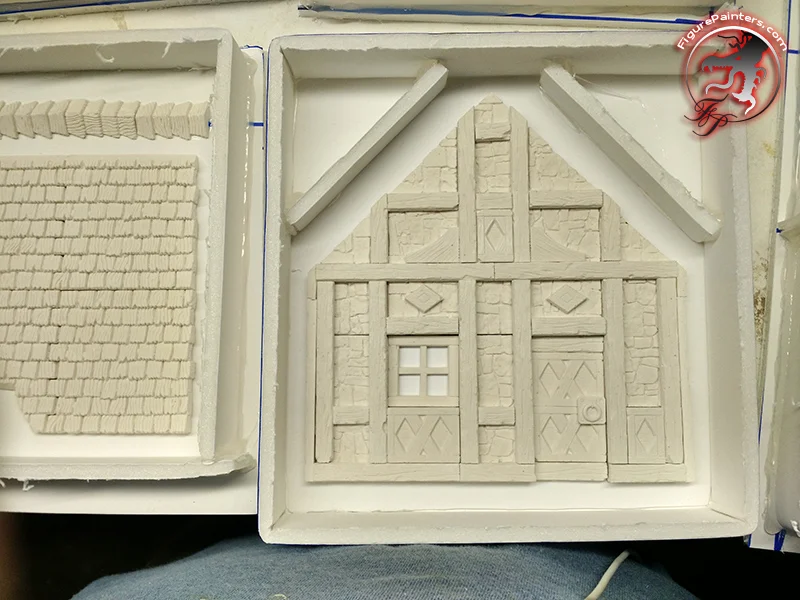
Skipping ahead, as I don't have pictures of everything, I have all the wall panels assembled. I have the house broken up into full wall panels that can be recast easily to make a bunch of houses with.
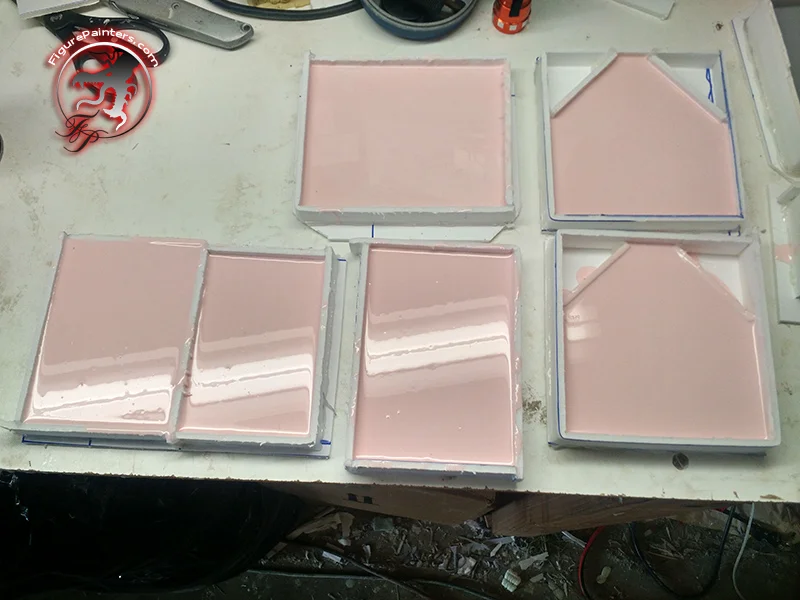
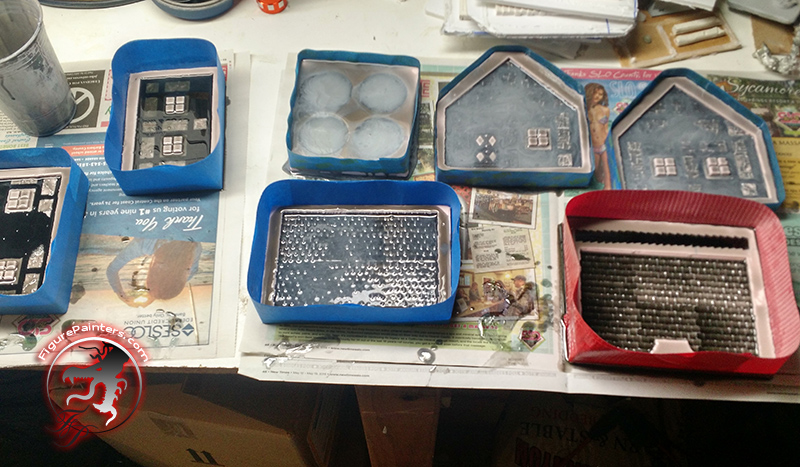
To make the silicon molds I use foam core and hot melt glue to make the mold boxes.
To keep the silicon from sticking I have a few coats of clear coat on the houses. The they get hit with some mold release for the silicon.
Silicon poured into the molds. I de-gassed the silicon before I poured it, then once some was in, I de-gassed the mold to get silicon into all the little cracks and get rid of any bubbles.
After sitting for 24 hours I pulled the molds out.

Using a small sharp pair of scissors I trimmed up all the excess silicon on the mold.

Before I start making plaster houses I want to make resin masters of these these molds. This way I can make more if I ever need to. The molds will last a long time if I only use plaster on them. But it never hurts to have masters.
Masters made.
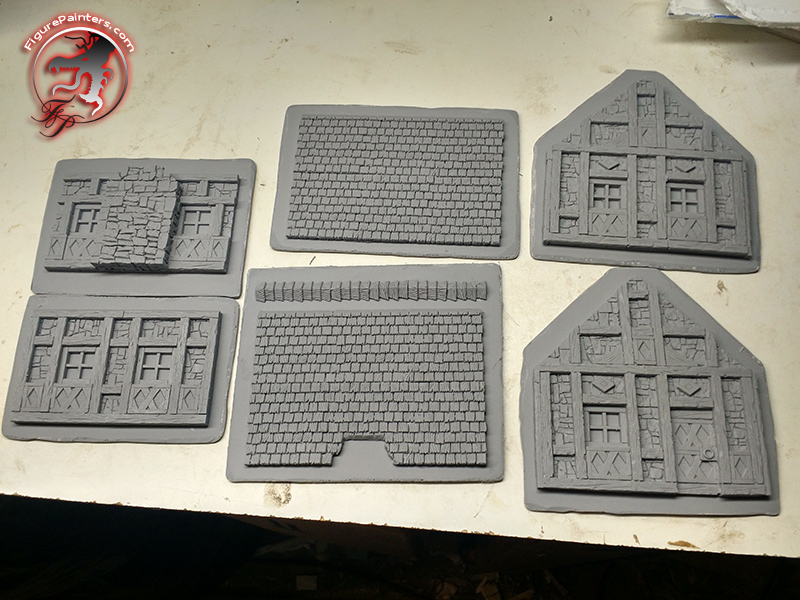
Now to make some houses! Using hydrostone I fill up the molds. I shake them around some to get out as many bubbles as I can.

Test fitting the house together.

To glue them together I am using wood glue. It takes a little longer to dry, but it is nice and tough. I use a little bit a super glue to help tack the walls together while the wood glue dries.
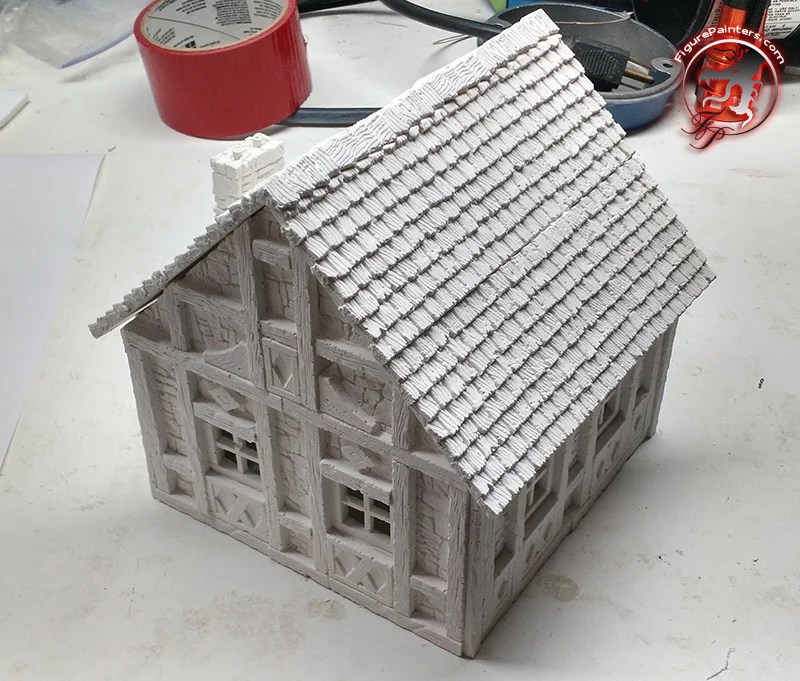

I used a belt sander to smooth out the back of the panels.
Now that this all goes together well time to make a bunch of them!
I needed to use a exacto blade to clean out the window panes.


I also made a second smaller size house for some variability.

Once I had all the houses together it is time to paint them.
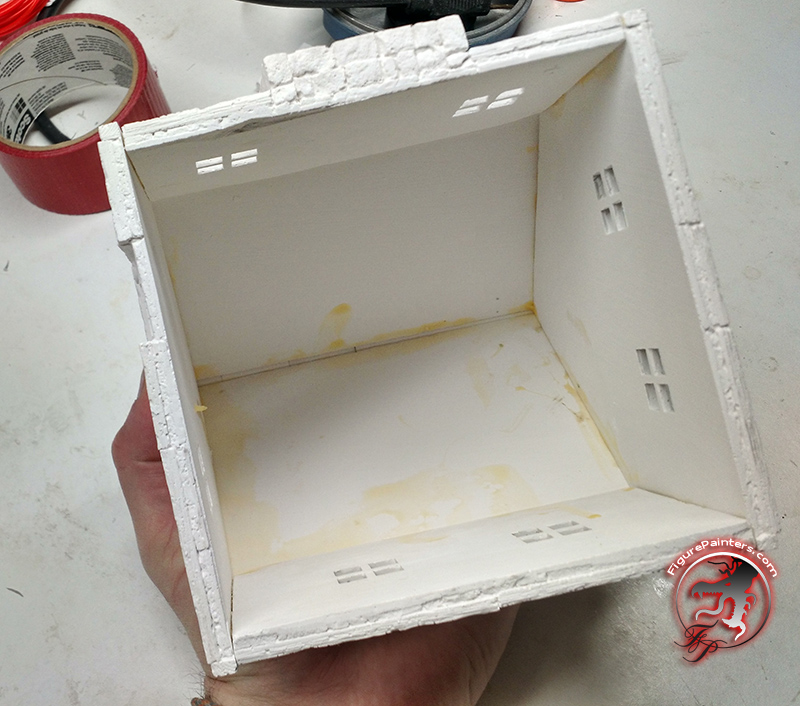
First they all get primered grey. I have a can of latex house paint to paint the houses with. I am using this because it is relatively cheap for the volume and it is tough stuff once it is dry.
I thinned down the the brown house paint so I could airbrush it with an older cheap airbrush I have.

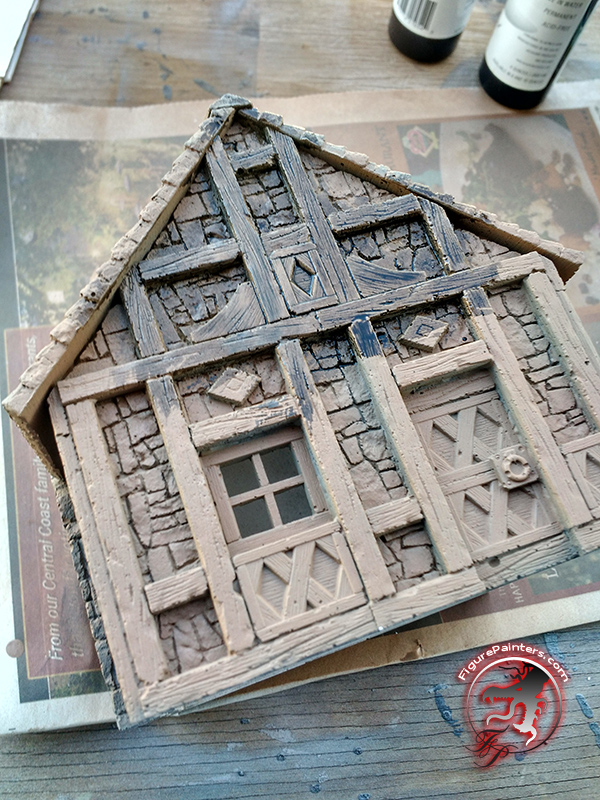
House with all the brown base coat.

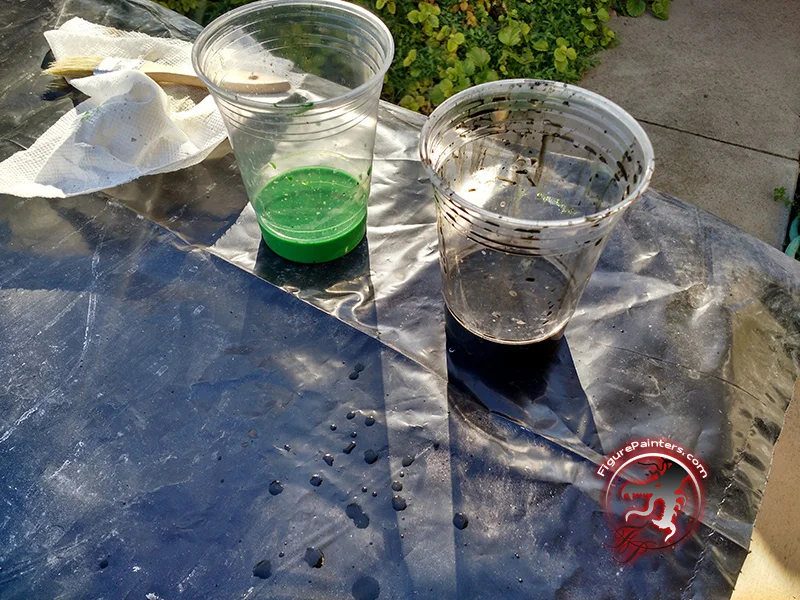
To shade the wood and the rock I made a wash. It is a combination of a clear black acrylic paint, clear brown, water and acrylic future floor wax. I also made a green for some shading on the roof.
Picture of it starting to be applied.
House all washed up.

Here you can see the difference between the base brown and a house with the wash.

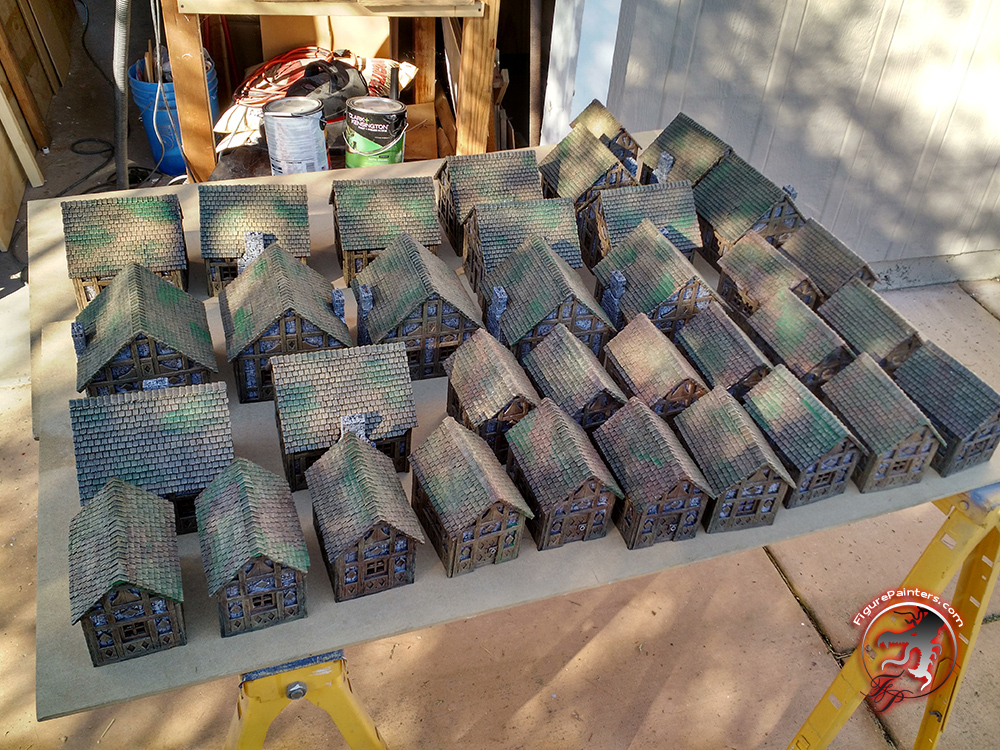
Some of the houses with their wash of black/brown and then a little bit of green on the roofs.

With a grey paint I then drybrushed all the stone of the houses. It was a little bit of a pain not getting the grey on the wood.
Once that was done, everything got a clear coat.
The last thing is to add the windows. I am using tissue paper glued into the inside to give a frosted glass look. Also, I am putting flickering LED tea lights inside the house so they look like there are little fires inside.


